How to Repair Drywall: A Step-by-Step Guide
Drywall repair might seem intimidating at first, but with the right tools and a bit of patience, you can achieve professional-looking results. Whether you’re dealing with small dents or larger holes, follow these steps to make your walls look good as new.
Tools and Materials You'll Need
- Drywall saw or utility knife
- Putty knife
- Drywall tape
- Joint compound (also known as mud)
- Sandpaper (medium and fine-grit), or preferably sanding screen
- Drywall patch kit (for larger holes)
- Primer and paint
Step-by-Step Instructions
- Assess the Damage: Determine the size and extent of the damage. Small holes can be patched up easily, but larger holes may require a bit more effort.
- If needed, cut Out the Damaged Area: Smaller holes and nail holes can be patched just by using mud or filler. Larger holes and damage may require you to cut out the damaged area. Use a drywall saw or utility knife to cut out the damaged section of the drywall. Make sure to cut a clean, square or rectangular hole around the damage.
- Prepare the Patch: If you’re using a drywall patch kit, follow the instructions to cut a piece of new drywall to fit the hole. For small holes, you can use a pre-made patch. Nail holes, you can just use mud.
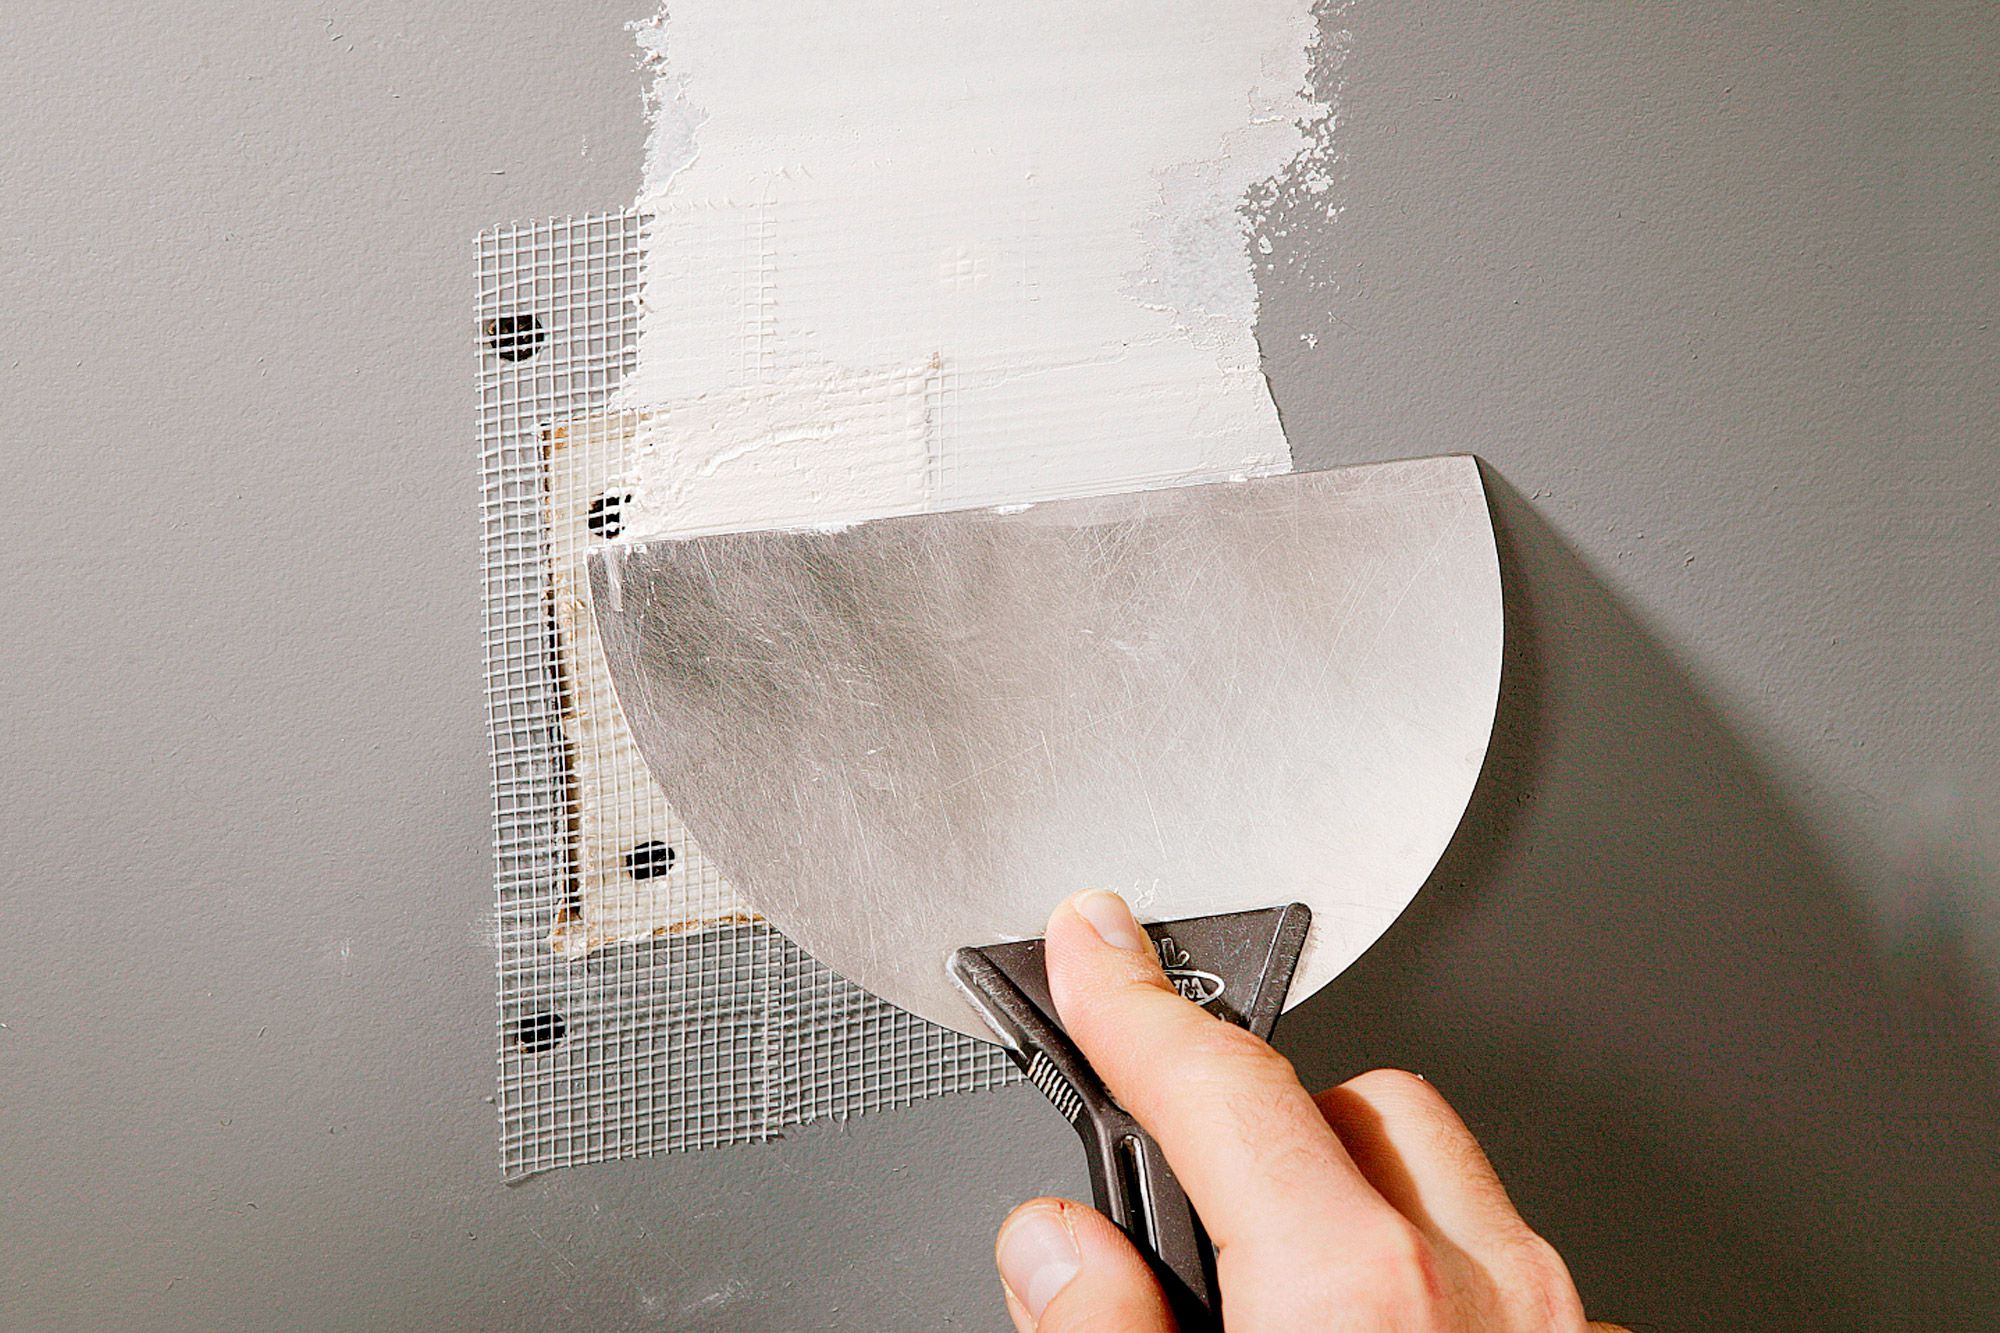
- Attach the Patch: Place the patch into the hole and secure it with drywall tape around the edges. Use a putty knife to smooth out the tape and ensure it’s well-adhered.
- Apply Joint Compound: Using a putty knife, apply joint compound over the patch and tape. Smooth it out to blend with the surrounding wall. Allow the compound to dry according to the manufacturer’s instructions.
- Sand the Surface: Once the joint compound is dry, use medium-grit sandpaper or sanding screen to smooth the surface. Follow up with fine-grit sandpaper to achieve a seamless finish. I prefer to use sanding screen as it last longer, is more effective and doesn’t “clog” up like regular sandpaper.
- Apply Additional Coats (if necessary): Depending on the size of the repair, you may need to apply additional coats of joint compound. Each coat should be thinner and wider than the previous one to feather out the edges.
- Prime and Paint: After sanding, wipe down the area to remove dust. Apply a coat of primer to the repaired area and let it dry. Finally, paint over the patch to match the rest of the wall.
And there you have it! With these steps, you can tackle drywall repairs like a pro. Remember, patience and attention to detail are key to achieving a flawless finish.

